
A motorcycle battery that shows a correct voltage at rest can very well fail on the third start of a road trip day. The open-circuit voltage does not reflect the actual capacity of the battery, especially after several months of low usage. Checking your motorcycle battery before a long trip involves following a precise protocol that goes beyond just a quick glance.
Lithium or lead motorcycle battery: what it changes before a road trip
The majority of content on motorcycle battery checks treats the subject as if all batteries behave the same way. In practice, the type of chemistry alters every step of the verification.
Lithium iron phosphate (LiFePO₄) batteries are spreading across touring motorcycles because they are much lighter with comparable starting current. However, they have a troublesome peculiarity for a road trip: they start less well in very cold weather until they are “woken up.” One morning at altitude, after a night of camping, a correct open-circuit voltage does not guarantee an easy start.
The other trap concerns the charger. A charger designed for a lead battery can damage a LiFePO₄. Before leaving, you must check that the onboard maintenance charger has a lithium mode. If it does not, replace it or do not take it at all (an unsuitable charge does more damage than no charge).
Conventional lead batteries (standard, AGM, gel) tolerate cold better at startup, but they sulfate faster after a period of inactivity. Before recharging a motorcycle battery that has been sitting for several weeks without use, the motorcycle insurance and maintenance procedure first involves a complete visual inspection.
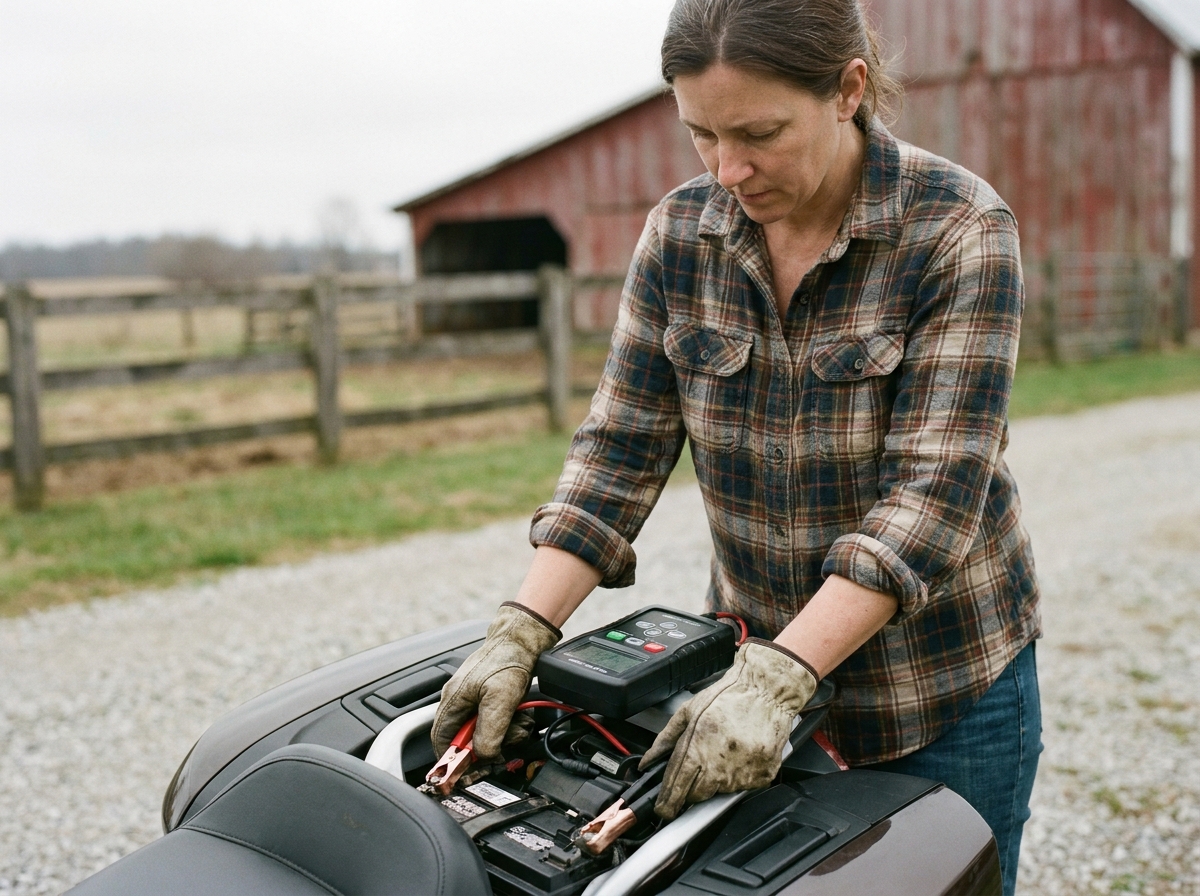
Visual inspection of the motorcycle battery: defects that go unnoticed
The visual check is the first step, and the most often rushed. It is not about looking if “it looks good,” but about looking for specific signs.
Case and sealing
A conventional acid battery can crack after a shock or due to freezing. Even a micro-crack is enough to cause an electrolyte leak. On an AGM or gel battery, a swollen case indicates a past overcharge or an internal defect. In both cases, a deformed or cracked case means immediate replacement.
Condition of the terminals and cables
A whitish or greenish deposit on the terminals prevents current conduction. The starter receives less power, and the battery seems weak when it may still be good. Here’s what to check:
- The surface of the terminals should be clean and shiny. A cleaning with a wire brush or fine sandpaper is enough to remove oxidation.
- The cables must be securely attached, with no play. A loose terminal creates parasitic resistance that can prevent starting both hot and cold.
- After cleaning, apply a thin layer of petroleum jelly or grease on the terminals to slow down the reformation of deposits during the trip.
Measuring the motorcycle battery voltage with a multimeter
The digital multimeter remains the reference tool for assessing the state of a battery. The investment is modest, and the measurement takes less than a minute.
Resting voltage
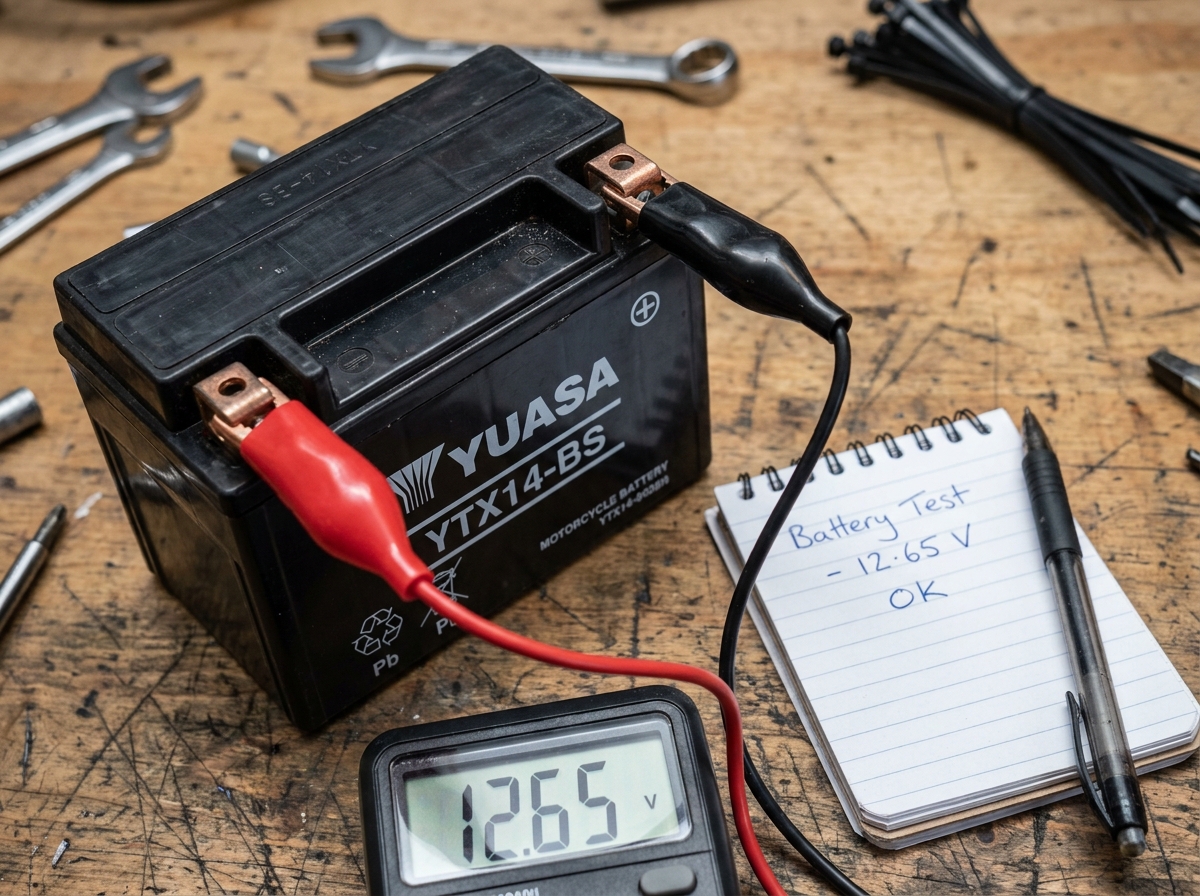
The motorcycle must be off for at least two hours for the measurement to be reliable. Set the multimeter to direct current (DC), 20 V range. Connect the red probe to the positive terminal (+) and the black one to the negative (-).
A good lead battery shows around 12.6 to 12.8 V at rest. Below 12.4 V, the battery is partially discharged. Below 12 V, it is deeply discharged, and a slow recharge is necessary before hitting the road.
For a lithium battery, the nominal voltage range differs slightly. Consult the manufacturer’s documentation, as each LiFePO₄ model has its own thresholds.
Load test: the real test
The resting voltage does not tell the whole story. A sulfated battery can show 12.7 V and collapse as soon as the starter is engaged. The load test involves measuring the voltage while the starter is turning (without the engine starting, for example, by cutting off the spark plug power).
If the voltage drops sharply below 10 V during the starting effort, the battery no longer has the capacity to handle a road trip. An excessive voltage drop under load reveals advanced sulfation, even if the resting voltage seemed correct.
Charging and maintaining the motorcycle battery before departure
A partially discharged battery should never leave for a trip “as is,” even if the motorcycle starts correctly in the garage. A motorcycle’s alternator does not recharge as quickly as a car’s, and onboard consumers (GPS, heated grips, USB socket) accelerate discharge while riding.
Use a smart charger suitable for the type of battery. These chargers automatically adjust the current and voltage according to the charging phase (bulk, absorption, maintenance). For lithium, check for the explicit presence of a LiFePO₄ mode on the device.
The charging should be done in a ventilated area. A conventional lead battery emits hydrogen during charging, a flammable gas that should not be overlooked in a closed garage.
- Plug in the charger the day before departure to allow a complete cycle to finish without rushing.
- After charging, disconnect and let it rest for an hour, then measure the resting voltage to confirm that it holds.
- If the battery does not maintain its charge after a complete cycle, it will not last the distance. It is better to replace it before departure than to look for a dealer on the way.
Replacing a motorcycle battery usually takes less than fifteen minutes, with the seat removed. Bringing a suitable set of keys for securing the battery is part of safety equipment, just like the helmet or gloves.
One last often overlooked point: if the motorcycle remains stationary for several days during the road trip (ferry, extended stop), a compact battery maintainer plugged into a power outlet protects the battery against slow discharge. For stages without electricity, disconnecting the negative terminal limits the consumption of standby circuits.